There’s no denying that mastering the NS Solar Nail technique takes skill and practice, but with the right guidance, you can achieve flawless results. This blog post is your go-to resource for expert tips and tricks to take your nail game to the next level. From prep work to finishing touches, we’ll cover everything you need to know to perfect this popular nail enhancement method. By following these tips, you’ll be well on your way to creating stunning NS Solar Nails like a pro.
Key Takeaways:
- Preparation is Key: Ensuring nails are thoroughly cleaned, filed, and buffed will create a smooth surface for the solar nail application.
- Practice Makes Perfect: Mastering the NS solar nail technique requires practice and patience to achieve precision and artistry in the application.
- Proper Maintenance: Educate clients about proper aftercare and maintenance to prolong the life of their NS solar nails and keep them looking impeccable.
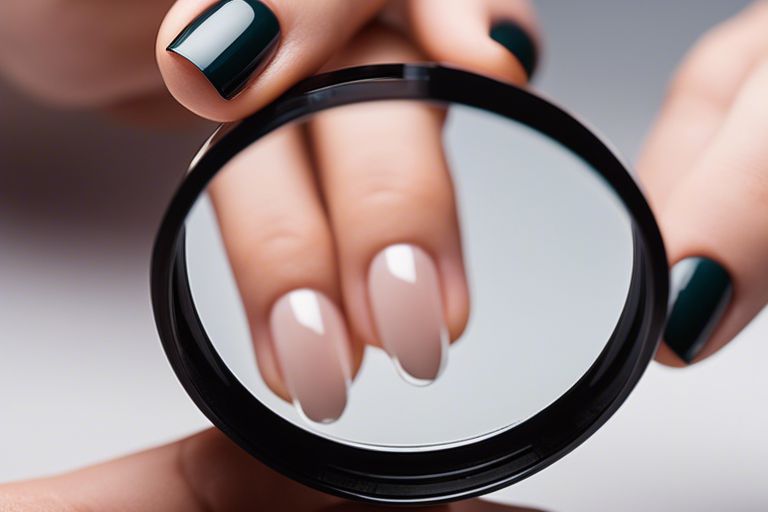
Preparing the Nails
Cleaning and Prepping Natural Nails
You should always start by ensuring that the natural nails are clean and free of any dirt or oils. Use a gentle nail brush with some soapy water to thoroughly cleanse the nails. Then, gently push back the cuticles using a cuticle pusher, being careful not to damage the delicate skin surrounding the nails.
Selecting the Right Tools for the Job
In the matter of selecting the right tools for the NS Solar Nail technique, quality is key. Make sure to invest in high-quality nail files, buffers, and cuticle pushers to achieve the best results. Additionally, having a reliable UV lamp for curing the nails is vital for ensuring long-lasting and durable results.
Another vital tool to have in your kit is a high-quality primer to help the nail enhancements adhere better to the natural nails. A good quality primer will also help prevent lifting and ensure that the nails stay in place for a longer period of time.
Applying the NS Solar Nail Technique
Clearly, mastering the NS Solar Nail Technique requires a precise application process. To achieve flawless results, it is imperative to follow each step diligently and with attention to detail.
Step-by-Step Application Process
| Step 1: Prepare the natural nails by cleaning and shaping them. | Step 2: Apply the NS Solar Nail primer to ensure proper adhesion. |
| Step 3: Choose the desired NS Solar Nail color and apply thin layers for opacity. | Step 4: Cure each layer under a UV lamp for the specified time. |
| Step 5: Seal the color with a topcoat and cure it to ensure longevity. | Step 6: Finish by applying a cuticle oil to nourish the nails and skin. |
Expert Tips for Perfect Application
Little details can make a big difference in the outcome of your NS Solar Nail application. To ensure a flawless finish, consider the following expert tips:
- Use thin layers of product to prevent bulkiness and ensure proper curing.
- Avoid applying the product too close to the cuticles to prevent lifting.
- Always cap the free edge of the nails to seal the color and increase longevity.
Some additional tips for achieving perfect results include using the recommended NS Solar Nail products for compatibility and following the specified curing times for each layer. Any shortcuts in the application process can compromise the durability and overall look of the nails.
Factors to Consider for Optimal Results
Keep in mind that the success of your NS Solar Nail technique largely depends on several key factors. From the quality of products used to the precision of application, every detail counts in achieving the perfect set of nails. Pay close attention to the following factors to ensure optimal results.
The Importance of Quality Products
For flawless NS Solar Nails, using high-quality products is non-negotiable. From the nail forms to the acrylic powders and primers, each product plays a crucial role in the outcome of your nail enhancements. Investing in reputable brands and professional-grade products will not only enhance the durability of the nails but also contribute to a smoother application process and a more polished finish.
Troubleshooting Common Issues
If you encounter any issues during the NS Solar Nail application process, it’s important to address them promptly to avoid compromising the final result. Common issues such as lifting, air bubbles, or inconsistent curing can be resolved with the right techniques and adjustments. By identifying the root cause of the problem and implementing the necessary corrective measures, you can troubleshoot common issues effectively and achieve the desired outcome.
It’s important to diagnose the problem accurately before taking any corrective action. Whether it’s adjusting your application technique, checking the curing time, or examining the quality of your products, troubleshooting common issues requires patience and attention to detail. By proactively addressing these challenges, you can refine your NS Solar Nail technique and elevate the overall quality of your nail enhancements.
Maintenance and Aftercare
How to Prolong the Life of NS Solar Nails
All good things must come to an end, but when it comes to NS Solar Nails, you can extend their life with proper care. To prolong the life of your NS Solar Nails, make sure to regularly moisturize your hands and cuticles to prevent your nails from becoming brittle. Avoid using your nails as tools for opening cans or scratching surfaces as this can weaken the nails. Additionally, use gloves when doing household chores or gardening to protect your nails from damage.
Safe Removal Practices
Solar nail removal is a delicate process that requires careful attention to prevent damage to your natural nails. The best way to safely remove NS Solar Nails is by visiting a professional nail technician who can safely dissolve the acrylic with acetone and gently push off the remaining product. Trying to remove the nails at home can lead to damage and weaken your natural nails.
This process ensures that your nails remain healthy and strong, ready for your next NS Solar Nail application. Do not forget, proper removal practices are key to maintaining the health of your natural nails after wearing NS Solar Nails.
Final Words
To wrap up, mastering the NS Solar Nail Technique requires practice, patience, and attention to detail. By following these expert tips, such as preparing the nail properly, applying the acrylic carefully, and perfecting the shaping and filing process, you can achieve flawless results. Remember to always prioritize the health and safety of your clients by using high-quality products and maintaining proper sanitation practices. With dedication and commitment to honing your skills, you can become proficient in this technique and provide your clients with stunning, long-lasting manicures. Keep practicing, stay informed on the latest trends, and never stop learning to continue elevating your nail enhancement services.
FAQ
Q: What is the NS Solar Nail Technique?
A: The NS Solar Nail Technique is a method of applying solar nails, which are a type of acrylic nails that are stronger and more durable than traditional acrylic nails. This technique involves using a combination of acrylic powder and liquid to create a strong bond that mimics the look of natural nails.
Q: What are the benefits of using the NS Solar Nail Technique?
A: The NS Solar Nail Technique provides a more natural look and feel compared to traditional acrylic nails. It is also more durable and less likely to lift or break, making it ideal for those with active lifestyles.
Q: Can anyone master the NS Solar Nail Technique?
A: While anyone can learn the NS Solar Nail Technique with practice and dedication, it does require some skill and patience to master. It is recommended to seek professional training or guidance when first starting out.
Q: How long does it take to master the NS Solar Nail Technique?
A: The time it takes to master the NS Solar Nail Technique varies from person to person. With consistent practice and dedication, most individuals can become proficient within a few months.
Q: What tools are needed for the NS Solar Nail Technique?
A: Some vital tools for the NS Solar Nail Technique include acrylic powder, acrylic liquid, a nail brush, a nail file, a buffer, and a UV or LED lamp for curing.
Q: Are there any tips for improving technique when using the NS Solar Nail Technique?
A: Some tips for improving technique when using the NS Solar Nail Technique include practicing proper form and pressure when shaping the nails, using thin layers of acrylic to prevent bulkiness, and ensuring thorough curing during each step.
Q: How can I maintain NS Solar Nails?
A: To maintain NS Solar Nails, it is important to keep them clean and dry, avoid using them as tools, and moisturize regularly to prevent dryness and breakage. Regular fills and touch-ups are also recommended every 2-3 weeks.