This comprehensive guide will walk you through all the steps and tips you need to become an expert in providing flawless shellac pedicures. Shellac pedicures are a popular choice for long-lasting and durable nail treatments that keep your toes looking fabulous for weeks. From preparation to application and removal, we will cover everything you need to know to achieve professional results every time.
Key Takeaways:
- Proper Preparation: Ensure to prep the nails by shaping and cleaning them before applying the Shellac polish.
- Application Technique: Master the art of applying Shellac polish in thin, even layers to achieve a smooth and long-lasting finish.
- Finishing Touches: Complete the pedicure with a top coat and proper curing to seal in the color and add shine to the nails.
Preparing for Your Shellac Pedicure
Tools and Products You’ll Need
Your Shellac pedicure will require a few vital tools and products to achieve professional results. Make sure you have a fine grit nail file, a cuticle pusher, cuticle remover, a base coat, the Shellac color of your choice, a top coat, alcohol wipes, and a UV or LED lamp for curing the Shellac.
How to Prep Your Nails and Feet
Before starting your Shellac pedicure, it’s crucial to properly prep your nails and feet. Start by removing any existing polish and soak your feet in warm, soapy water to soften the skin. Use a foot file to smooth out any rough patches and push back your cuticles. Trim and shape your nails, then gently buff the surface to create a smooth canvas for the Shellac application.
The Application Process
Tips for a Flawless Shellac Base
Base coat application is key to a long-lasting Shellac pedicure. Begin by properly cleansing the nails to remove any oils or residue. Ensure the base coat is applied thinly and evenly, avoiding the cuticles and the skin surrounding the nails. This will prevent lifting and chipping, resulting in a smoother and more durable finish. Keep in mind, clean and prepped nails are the foundation for a flawless Shellac application.
Step-by-Step Guide to Shellac Color Application
| 1. Apply First Layer | 2. Cure Under LED Lamp |
| 3. Apply Second Layer | 4. Cure Under LED Lamp |
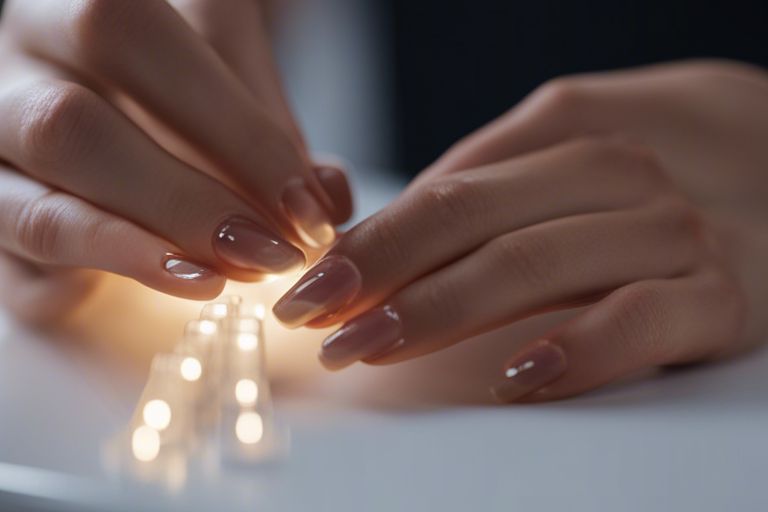
To ensure a perfect color application, follow these steps meticulously. The thin layers applied must be cured under an LED lamp to ensure a long-lasting and shiny finish. Keep in mind, curing each layer is crucial for the Shellac to bond properly and prevent any smudging or imperfections.
Final Finishing Touches
| 1. Apply Top Coat | 2. Cure Under LED Lamp |
| 3. Cleanse Nails | 4. Apply Cuticle Oil |
To complete the Shellac pedicure, apply a layer of top coat and cure it under the LED lamp for a lasting shine. Once cured, cleanse the nails to remove any tacky residue and apply cuticle oil to hydrate and nourish the skin around the nails. This final step will leave your pedicure looking flawless and vibrant.

Factors Affecting Shellac Durability
After investing time and money in a Shellac pedicure, it’s necessary to understand the factors that can affect its longevity. By being aware of these key elements, you can ensure your pedicure lasts as long as possible. Factors that can impact the durability of your Shellac pedicure include:
- Exposure to harsh chemicals
- Frequent contact with water
- Prolonged sun exposure
- Poor application technique
Though these factors can affect the durability of your Shellac pedicure, there are steps you can take to mitigate their impact and enjoy long-lasting results.
Aftercare Tips to Prolong Your Pedicure
Durability of your Shellac pedicure can be extended by following a few simple aftercare tips. To maintain the longevity of your pedicure, consider the following:
- Avoid using harsh chemicals on your nails
- Apply cuticle oil regularly to protect the Shellac
- Avoid exposing your nails to excessive water
- Wear protective gloves while doing chores
The care you provide to your Shellac pedicure after leaving the salon can significantly impact its durability, so follow these tips to keep your toes looking fabulous for longer.
Common Mistakes to Avoid
Mistakes can greatly reduce the lifespan of your Shellac pedicure. It’s important to be aware of common pitfalls to avoid them and enjoy a longer-lasting pedicure. Here are some of the most common mistakes to steer clear of:
It’s crucial to avoid picking or peeling off your Shellac polish as this can damage your natural nails. Additionally, exposing your pedicure to harsh chemicals without protection can cause premature chipping and fading of the color. By being mindful of these mistakes, you can ensure your Shellac pedicure stays intact for weeks on end.
Advanced Techniques and Troubleshooting
- How to Add Nail Art to Your Shellac Pedicure
- Fixing Chips and Cracks: Quick Fixes
How to Add Nail Art to Your Shellac Pedicure
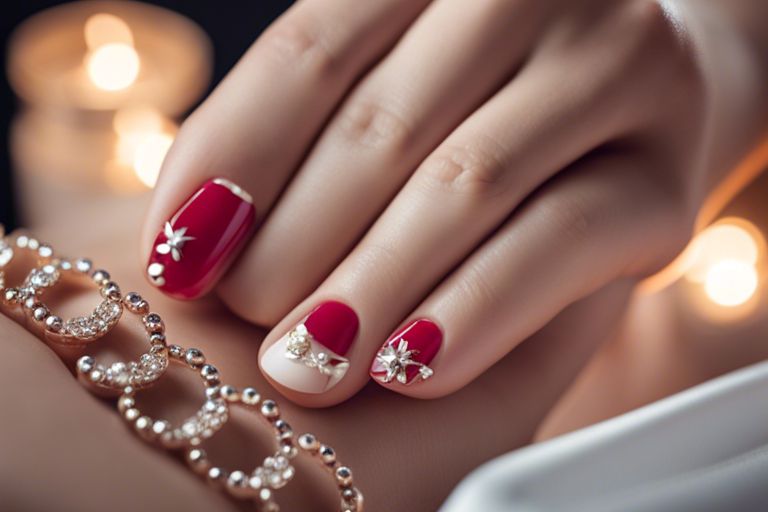
Once again, mastering the art of shellac pedicures involves understanding how to add nail art to enhance your client’s experience. Assuming you have a steady hand and the right tools, adding nail art can take your shellac pedicures to the next level. From simple designs to intricate patterns, nail art allows you to showcase your creativity and offer personalized options for your clients.
Fixing Chips and Cracks: Quick Fixes
Shellac pedicures are long-lasting, but chips and cracks can still occur, especially if the nails are subjected to rough treatment. Shellac offers a quick fix solution to repair any damage without compromising the overall look of the pedicure. By following the proper steps and using the right products, you can easily fix chips and cracks to ensure your client’s nails stay flawless until their next appointment.
With respect to fixing chips and cracks in a pedicure, it’s important to assess the damage first. For minor chips, you can simply touch up the affected area with a matching shellac color and cure it under a UV or LED lamp. For more significant cracks, you may need to carefully remove the damaged shellac, apply a new layer, and cure it to seamlessly blend with the rest of the pedicure.
Final Words
Hence, mastering the art of shellac pedicures is a valuable skill that every nail technician should strive to perfect. By following this complete guide, you can elevate your pedicure services to a superior level, providing clients with long-lasting, shiny, and durable results. Understanding the techniques, products, and best practices outlined in this guide will not only enhance the quality of your services but also boost your reputation as a skilled professional. Note, practice makes perfect, so keep honing your skills and staying updated with the latest trends in shellac pedicures to offer your clients the best experience possible.
FAQ
Q: What is a Shellac pedicure?
A: A Shellac pedicure is a type of pedicure that uses Shellac nail polish, a hybrid nail polish that combines the ease of polish with the permanence of gels.
Q: How is a Shellac pedicure different from a regular pedicure?
A: A Shellac pedicure differs from a regular pedicure in that it uses a specific type of nail polish that is cured under a UV or LED lamp for a longer-lasting finish.
Q: How long does a Shellac pedicure last?
A: A Shellac pedicure can last up to 2-3 weeks without chipping when done properly and maintained correctly.
Q: Can I do a Shellac pedicure at home?
A: While it is possible to do a Shellac pedicure at home, it is recommended to visit a professional nail salon to ensure proper application and optimal results.
Q: How should I prepare my feet for a Shellac pedicure?
A: To prepare your feet for a Shellac pedicure, start by soaking them in warm water, exfoliating to remove dead skin, trimming and shaping the nails, and pushing back the cuticles.
Q: How do I remove Shellac polish from my toenails?
A: To remove Shellac polish from your toenails, you can either visit a professional nail salon for a safe removal process or soak cotton pads in acetone, wrap them around your toenails, and gently remove the polish after 10-15 minutes.
Q: Are there any precautions I should take with Shellac pedicures?
A: It is important to apply sunscreen to protect your feet from UV lamp exposure during a Shellac pedicure and to moisturize your feet regularly to prevent dryness or cracking.