Many of us love the look and longevity of a Shellac manicure, but frequent salon visits can add up quickly. Luckily, you can achieve a flawless Shellac manicure right at home with the right tools and techniques. In this step-by-step guide, we will walk you through the process of prepping your nails, applying the Shellac polish, and finishing with a professional-looking shine. Say goodbye to chipped nails and hello to a long-lasting, salon-quality manicure in the comfort of your own home.
Key Takeaways:
- Proper Prep: Ensure your nails are clean, dry, and free of any oils or lotions before applying the gel polish. Use a nail file to shape and gently buff the surface for better adhesion.
- Thin Layers: Apply thin, even coats of shellac polish to avoid thick, uneven layers that can lead to chipping or peeling. Cure each layer under a UV or LED lamp according to the manufacturer’s instructions.
- Seal and Protect: Finish off your home shellac manicure with a top coat to seal in the color and add shine. Remember to cap the free edge of your nails to prevent premature chipping.
Preparing for Your Shellac Manicure
Gathering Essential Tools and Products
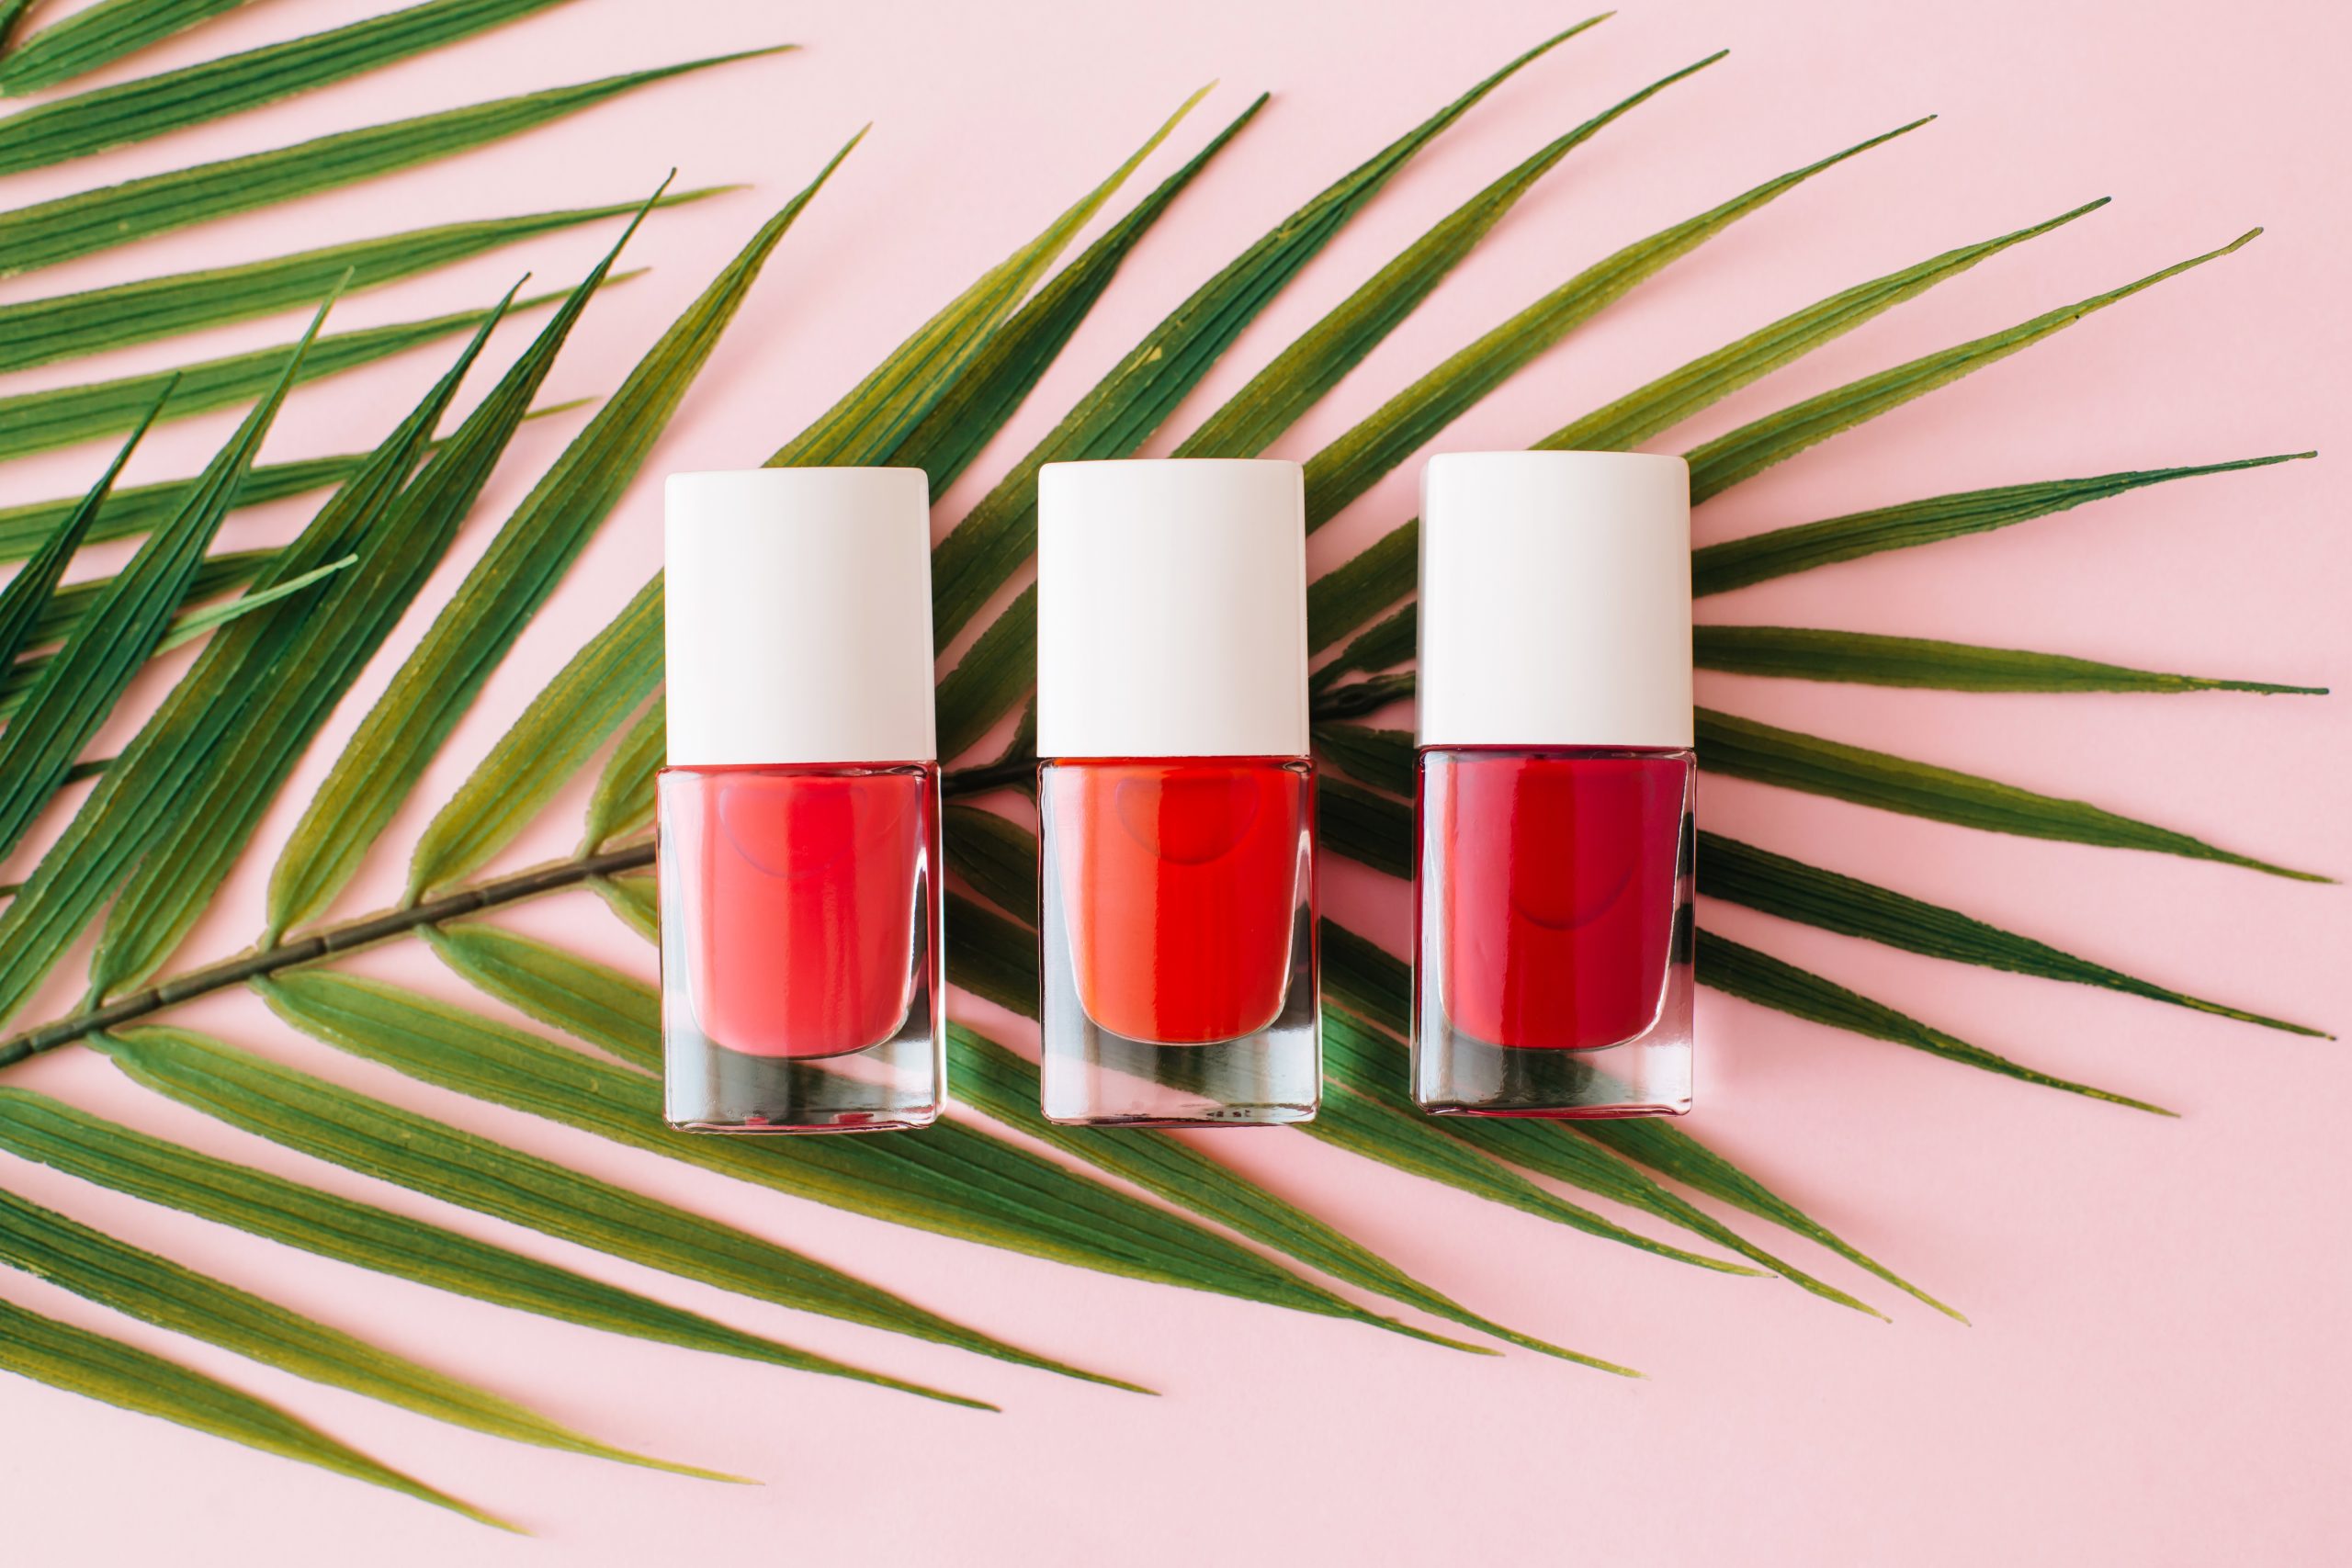
While preparing for your shellac manicure at home, it is crucial to gather all the imperative tools and products. You will need a UV or LED lamp, a base coat, a top coat, a color polish of your choice, rubbing alcohol, a cuticle pusher, a nail file, and lint-free wipes.
Nail Preparation Tips for Shellac Application
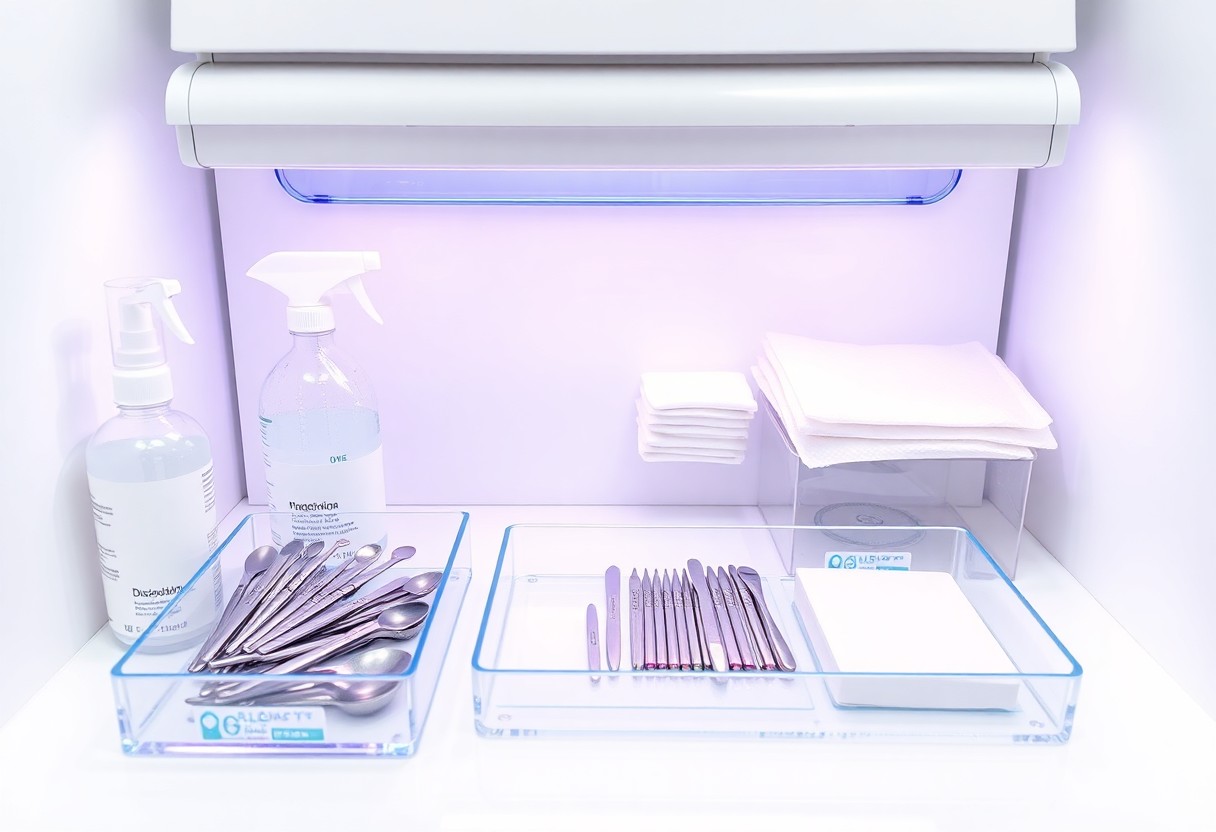
While starting your nail preparation, begin by pushing back your cuticles using a cuticle pusher. Then, gently buff the surface of your nails to remove any shine with a nail file. Wipe your nails with rubbing alcohol to ensure they are clean and free from oils.
- Ensure your nails are completely dry before applying the base coat.
- Avoid cutting your cuticles, as this can lead to infection.
Shellac is a popular choice for long-lasting manicures as it combines the ease of polish with the permanence of gels. It is important to adhere to the correct application process to achieve the best results.
Step-by-Step Application Guide
| Step | Instructions |
| 1 | Apply Base Coat |
| 2 | Apply Color Coat |
| 3 | Apply Top Coat |
| 4 | Clean Up Edges |
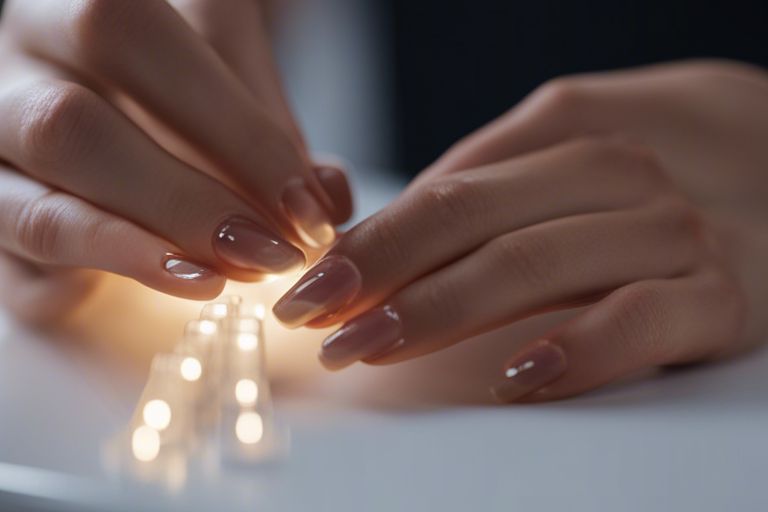
| 5 | Cure Under UV/LED Light |
Base Coat Application
Clearly, start by applying a thin layer of base coat to clean, dry nails. This step is crucial as it helps the color adhere better and protects your natural nails from staining. Allow the base coat to dry completely before moving on to the next step.
Color Coat Techniques
With the color coat, you have the opportunity to get creative with different techniques like ombre, marble, or simple solid colors. Make sure to apply thin, even layers and cap the free edge of the nail to seal in the color for longer-lasting wear. Experiment with different tools like brushes or sponges to achieve unique designs.
Application of the color coat should be done carefully to avoid streaks or uneven coverage. Allow each layer to dry before applying the next coat to prevent smudging or bubbling. Remember to be patient and take your time to ensure a flawless finish.

Curing and Perfecting Your Manicure
Factors Affecting Proper Curing
Many factors can affect the proper curing of your shellac manicure. The thickness of the layers applied, the type of UV or LED lamp used, and the curing time all play a crucial role in achieving a long-lasting finish.
- Ensure each layer is applied thinly and evenly to promote proper curing.
- Use a high-quality lamp that is specifically designed for curing shellac polish.
- Follow the recommended curing times for each layer to prevent any under-curing.
After curing, gently wipe away any sticky residue with a lint-free nail wipe or cotton pad soaked in alcohol to reveal a glossy finish.
Tips for a Flawless Finish
For a flawless finish, consider the following tips to perfect your at-home shellac manicure. Assuming you have applied the layers correctly and cured them properly, your final result will be smooth and durable.
- Avoid touching the skin or cuticles with the polish to prevent lifting.
- Apply a thin layer of top coat and cap the edges to seal in the color.
- Moisturize your hands and cuticles regularly to prevent dryness and cracking.
Any mistakes or imperfections can be easily fixed by filing or buffing the surface gently before applying another layer of polish.
More on Tips for a Flawless Finish
Assuming you have taken the necessary precautions during application, curing will be the final step to achieve a flawless shellac manicure. Make sure to cure each layer properly according to the manufacturer’s instructions for a chip-free and long-lasting finish.
- Do not rush the curing process to avoid any smudging or wrinkling of the polish.
- Double-check that each nail is fully cured by following the recommended curing times.
Maintenance and Removal
How to Maximize the Longevity of Your Shellac Manicure
Manicure maintenance is crucial for prolonging the life of your shellac manicure. To maximize longevity, be sure to wear gloves when performing household chores, avoid using your nails as tools, apply cuticle oil regularly, and avoid exposing your nails to harsh chemicals.
Safe Removal Practices at Home
Practices for safe removal of shellac manicures at home are crucial to maintain nail health. Avoid peeling or picking off the shellac as this can damage your nails. Instead, use acetone-soaked cotton pads wrapped around each nail and secured with aluminum foil. Let them sit for about 10-15 minutes before gently pushing the softened shellac off with a cuticle stick.
Another important tip for safe removal is to ensure proper hydration of your nails after removal. Use a nourishing cuticle oil or cream to replenish moisture and prevent your nails from becoming brittle or dry after the removal process.
Summing up
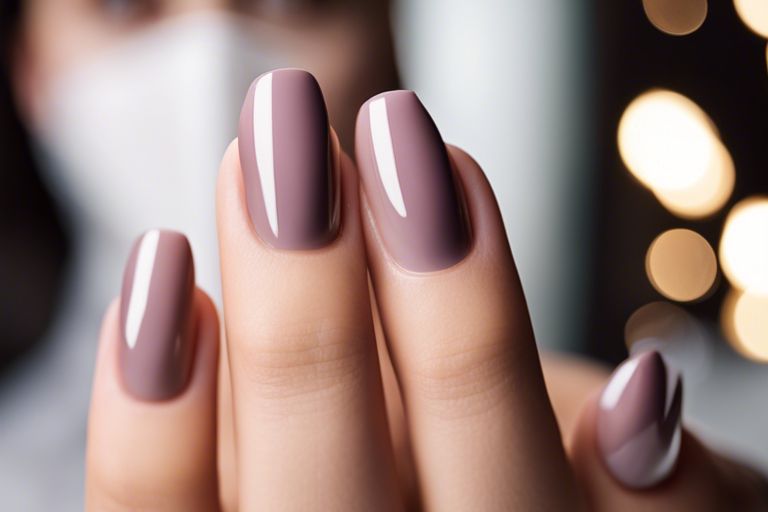
Following this guide on how to achieve the perfect Shellac manicure at home, you can now confidently create professional-looking nails in the comfort of your own space. By prepping your nails properly, applying the Shellac polish in thin, even layers, curing the polish with a UV/LED lamp, and finishing with the right top coat, you can enjoy long-lasting, chip-free nails that will rival any salon manicure. With practice and attention to detail, you can master the art of the Shellac manicure and ensure your nails always look flawless.
FAQ
Q: What is a Shellac manicure?
A: A Shellac manicure is a type of manicure that uses a combination of regular nail polish and gel nail polish to create a long-lasting and durable finish.
Q: How long does a Shellac manicure last?
A: A Shellac manicure can last up to two weeks without chipping or peeling, making it a popular choice for those looking for a long-lasting nail treatment.
Q: Can I achieve a Shellac manicure at home?
A: Yes, you can achieve a Shellac manicure at home with the right tools and techniques. With practice and patience, you can achieve professional-looking results.
Q: What tools do I need to achieve a Shellac manicure at home?
A: To achieve a Shellac manicure at home, you will need a UV or LED nail lamp, Shellac base coat, Shellac color polish, Shellac top coat, rubbing alcohol, cotton pads, and a nail buffer.
Q: How do I achieve the perfect Shellac manicure at home?
A: To achieve the perfect Shellac manicure at home, start by prepping your nails, applying the base coat, curing it under the lamp, applying two coats of color polish, curing each layer, applying the top coat, and finally, cleaning up any excess polish with rubbing alcohol.
Q: How do I remove a Shellac manicure at home?
A: To remove a Shellac manicure at home, soak a cotton pad in acetone, place it on your nail, wrap your finger in aluminum foil, and let it sit for 10-15 minutes. Gently remove the foil and cotton pad, then gently push off the softened Shellac with a cuticle stick.
Q: How can I make my Shellac manicure last longer?
A: To make your Shellac manicure last longer, make sure to properly prep your nails before applying the polish, avoid exposing your nails to harsh chemicals or excessive water, wear gloves when doing household chores, and apply a fresh layer of top coat every few days to maintain the shine and durability of the manicure.