There’s nothing quite like the eye-catching allure of ombre nails. This how-to guide will take you through the step-by-step process of achieving flawless gradient designs that will leave you with stunning manicures. With easy-to-follow instructions and expert tips, you’ll be able to master the art of ombre nails in no time. Get ready to elevate your nail game with these mesmerizing and sophisticated designs!
Key Takeaways:
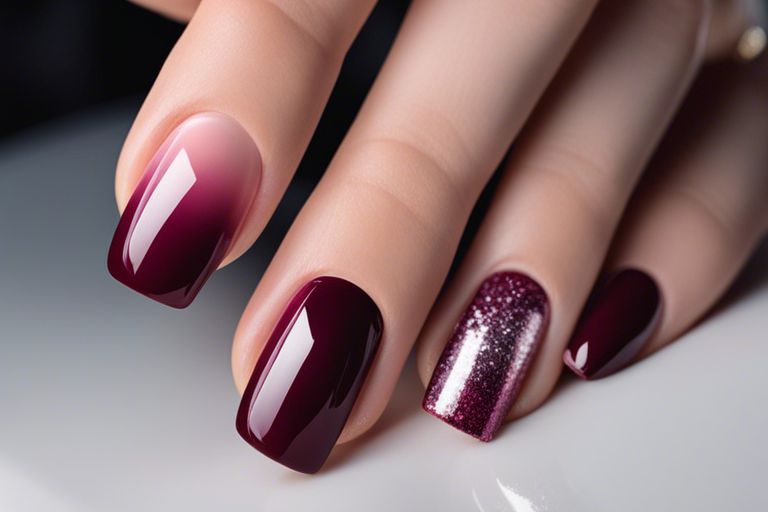
- Ombre nails are achieved through a gradual blend of colors from light to dark or vice versa, creating a stunning gradient effect.
- Start with a white base coat to make the colors pop and blend more smoothly for a professional-looking ombre nail design.
- Use a makeup sponge to dab and blend the nail polish colors for a seamless transition and beautiful ombre effect on your nails.
Essential Tools and Materials
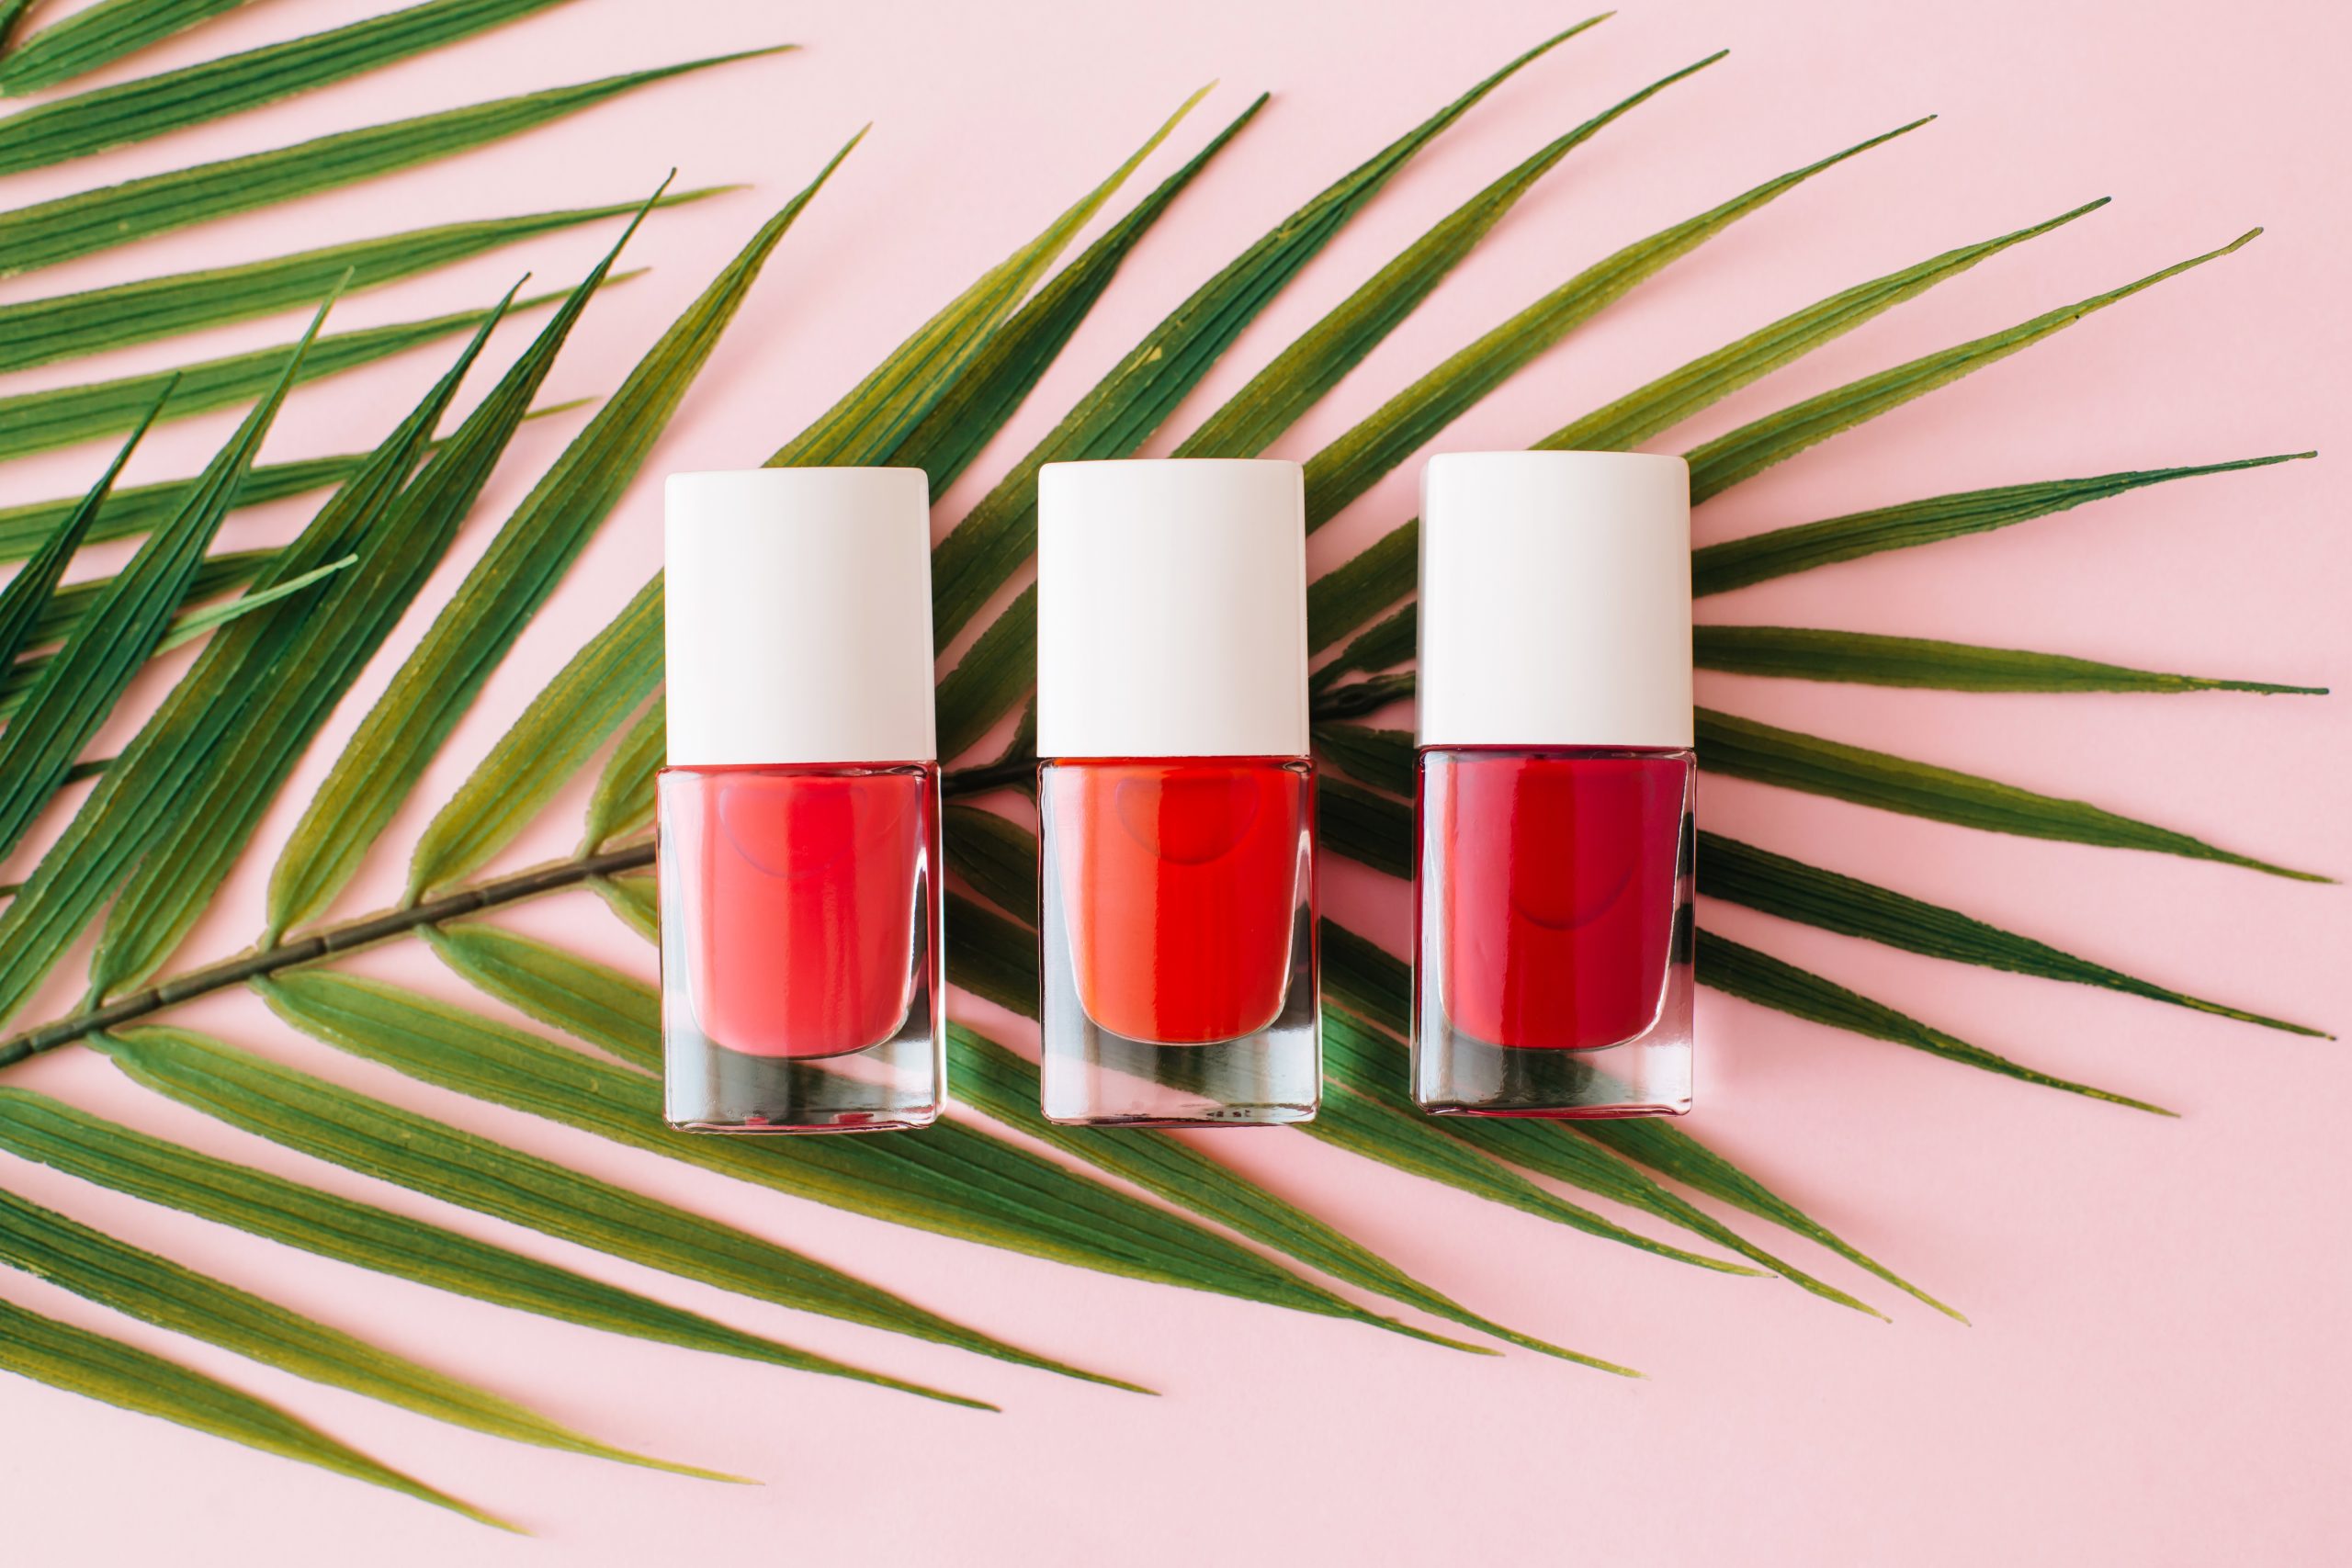
Choosing the Right Polishes
Clearly, one of the most important components for creating stunning ombre nails is selecting the right polishes. For a seamless gradient effect, it’s crucial to choose polishes that blend well together. Opt for colors within the same color family or shades that transition smoothly from light to dark. Cream or gel polishes work best for ombre designs due to their opacity and ease of blending.
Additional Tools for the Perfect Ombre
Ombre nails require more than just polishes to achieve a flawless gradient look. Additional tools such as makeup sponges, ombre brushes, and nail tape are important for creating smooth transitions between colors. Makeup sponges are perfect for blending colors seamlessly, while ombre brushes help in creating precise gradients. Nail tape can be used to section off areas of the nail for clean and defined ombre patterns.
Choosing the right tools and materials is the foundation for mastering the art of ombre nails. With the proper polishes and additional tools in hand, you’ll be well-equipped to create stunning gradient designs that will elevate your nail art game.
Preparing Your Nails
Nail Care and Maintenance Tips
Some imperative nail care and maintenance tips are crucial before starting your ombre nail design. Trim and shape your nails to your desired length, ensuring they are clean and free of any old polish. Moisturize your cuticles regularly to keep them healthy and hydrated, which will help prevent hangnails and promote nail growth. Lastly, avoid using your nails as tools to prevent breakage and damage.
- Trim and shape your nails
- Clean nails of old polish
- Moisturize cuticles
- Avoid using nails as tools
Knowing how to properly care for your nails is the foundation for a successful ombre nail design.
Base Coat Application
For a flawless ombre nail look, start with a high-quality base coat. A base coat not only helps the nail polish adhere better and last longer but also protects your nails from becoming stained by pigmented polishes. Apply a thin, even layer of base coat to each nail and allow it to dry completely before moving on to the next step.
Step-by-Step Ombre Technique
| Creating the Gradient Effect | Detailing and Fixing Common Issues |
| With careful blending of colors and practice, you can achieve a seamless gradient effect on your nails. Start by applying a light base coat and then dabbing different shades of nail polish onto a makeup sponge. Gently press the sponge onto your nails in a rolling motion, blending the colors together. Repeat this step until you achieve the desired ombre effect. | Clearly, ombre nails may come with challenges such as uneven blending or excess polish buildup at the cuticles. To address these common issues, use a clean-up brush dipped in nail polish remover to tidy up the edges and ensure a crisp transition between colors. Additionally, you can use a top coat to smooth out any imperfections and seal in your gorgeous ombre design. |
Gradient Nail Troubleshooting
Gradient ombre nails often face issues like patchy color distribution or messy cuticle lines. To fix these problems, ensure your nail polish layers are thin to prevent clumping and use a makeup sponge that is slightly damp to aid in color blending. If colors still appear uneven, try adding a third shade in the middle to create a smoother transition. Practice and patience are key to mastering the art of ombre nails.
Preservation and Aftercare
How to Protect Your Ombre Nails
Now, to ensure your ombre nails stay looking fresh and flawless, it’s imperative to take some precautions. Firstly, always wear gloves while doing household chores to prevent chipping or damaging your nail art. Additionally, avoid using your nails as tools to open cans or packages, as this can lead to breakage.
Factors Affecting Nail Design Longevity
The lifespan of your ombre nail design can be influenced by several factors. The type of nail polish used, the quality of the topcoat, and the thickness of the layers can all impact how long your design will last. Other factors, such as exposure to harsh chemicals, frequent hand washing, and nail care routine, can also affect the longevity of your ombre nails.
- Choose high-quality nail products
- Avoid rough use of your nails
- Moisturize your nails and cuticles regularly
Protecting your ombre nails from premature wear and tear is crucial for maintaining their beauty. By following these tips and being mindful of how you treat your nails, you can enjoy your stunning gradient designs for longer periods of time.
- Choose high-quality nail products
- Avoid rough use of your nails
- Moisturize your nails and cuticles regularly
Final Words
Summing up, creating stunning ombre nails is a fun and creative way to add a touch of elegance to your look. By following the step-by-step guide provided, you can achieve beautiful gradient designs that will surely turn heads. Remember to choose complementary colors, blend them seamlessly, and experiment with different techniques to find what works best for you. With practice and patience, you can master the art of ombre nails and create dazzling manicures that showcase your personal style. So, grab your nail polish and tools, and start experimenting with this versatile and eye-catching nail art technique today!
FAQ
Q: What are ombre nails?
A: Ombre nails are a type of nail design that features a gradient effect, blending two or more colors seamlessly from light to dark or vice versa.
Q: What materials do I need to create ombre nails?
A: To create ombre nails, you will need nail polish in your desired colors, a makeup sponge, a top coat, nail polish remover, and some tape or liquid latex to protect your skin.
Q: How do I create ombre nails?
A: To create ombre nails, start by painting your nails with a base color and letting it dry completely. Then, apply stripes of your chosen colors onto a makeup sponge and dab it onto your nails. Repeat the process until you achieve the desired gradient effect, and finish with a top coat.
Q: How do I choose the right colors for ombre nails?
A: When choosing colors for ombre nails, opt for shades that blend well together and create a seamless transition. You can choose colors from the same color family or experiment with contrasting colors for a bold look.
Q: How can I troubleshoot common issues when creating ombre nails?
A: If you encounter issues such as streaky colors or uneven blending when creating ombre nails, try using thin layers of polish, ensuring your base color is fully dry before sponging on the gradient, and gently dabbing the sponge for a seamless blend.
Q: How long does it take to create ombre nails?
A: The time it takes to create ombre nails varies depending on your skill level and the complexity of the design. On average, it can take anywhere from 30 minutes to an hour to complete ombre nails.
Q: How can I make my ombre nails last longer?
A: To make your ombre nails last longer, apply a generous amount of top coat to seal in the design, avoid exposing your nails to harsh chemicals or excessive water, and touch up any chipped areas with polish and top coat as needed.