Bring a touch of elegance and sophistication to your nails with this step-by-step guide on creating DIY French Ombre Nails. Perfect for those looking to achieve a professional salon look from the comfort of their own home, this tutorial will take you through the process with ease. Follow these simple instructions carefully to master the art of creating beautiful and stylish French Ombre Nails that will make you stand out from the crowd. Let’s get started on your journey to flawless nails!
Key Takeaways:
- Preparation is key: Before starting the DIY French Ombre Nails, make sure to gather all the necessary supplies such as base coat, white nail polish, makeup sponge, and top coat.
- Practice makes perfect: Perfecting the ombre effect might take a few tries, so don’t get discouraged if it doesn’t turn out perfectly the first time. Keep practicing to achieve the desired gradient effect.
- Take your time: Rushing through the process can lead to smudges and uneven blending. Take your time to ensure each layer is dry before moving on to the next step for flawless French ombre nails.
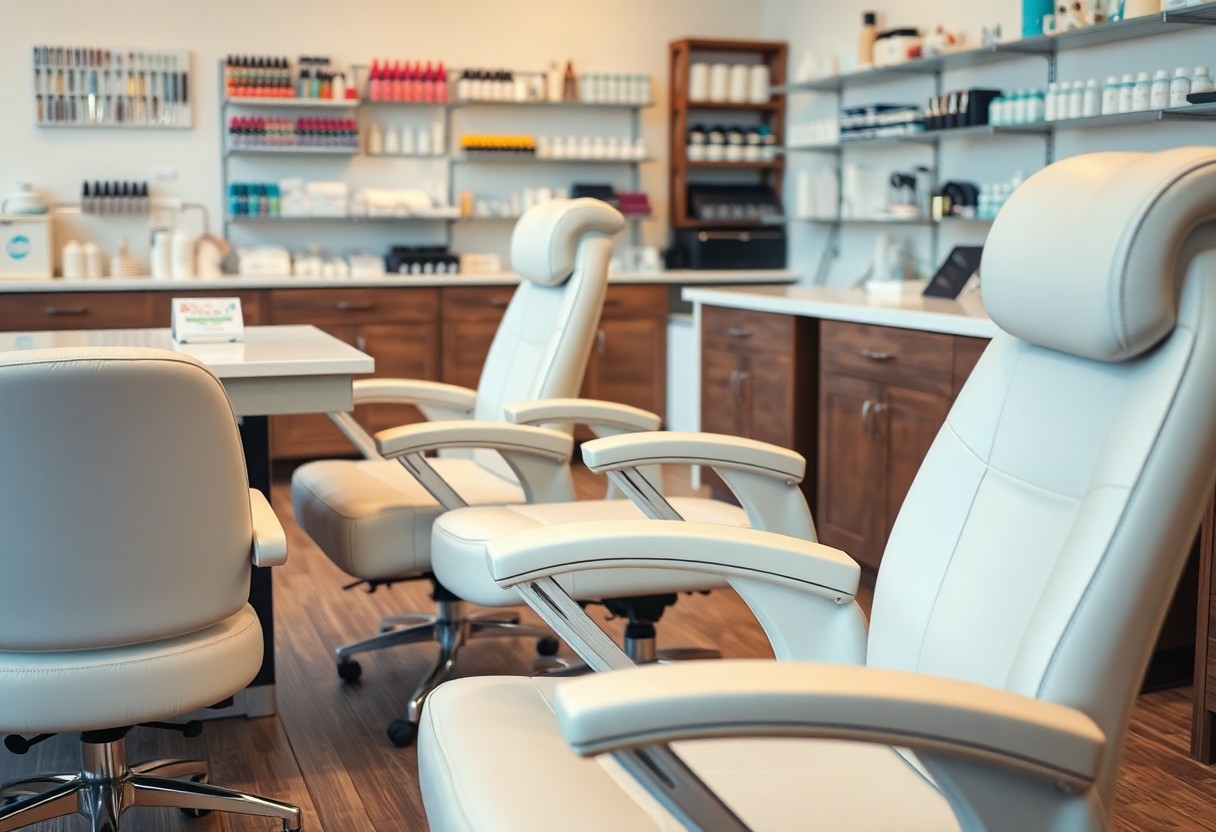
Preparing Your Nails
Cleaning and Shaping Your Nails
One of the first steps to achieving flawless French ombre nails is to properly clean and shape your nails. Start by removing any old nail polish with a gentle acetone-free nail polish remover. Then, trim your nails to your desired length and shape them using a nail file. Make sure to file in one direction to prevent nail breakage.
Tips for Healthy Nail Beds
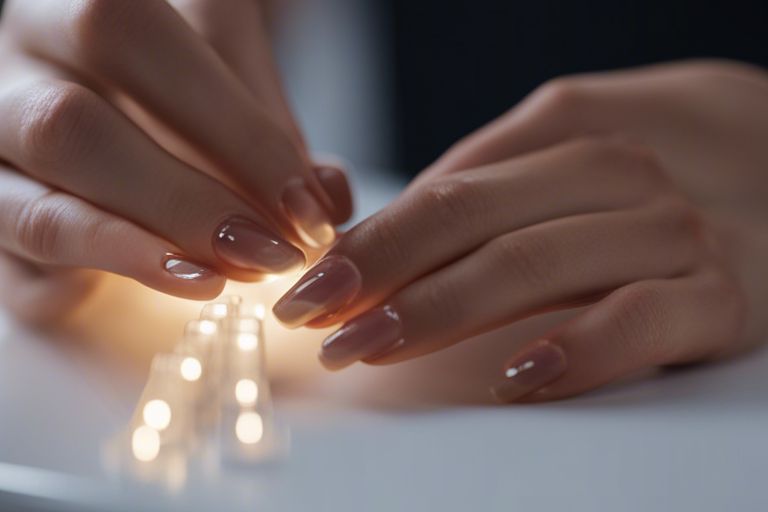
Some crucial tips for maintaining healthy nail beds include keeping your nails hydrated by applying cuticle oil regularly. Avoid using your nails as tools to open cans or packages, as this can weaken and damage them. Additionally, try to limit your exposure to harsh chemicals and always wear gloves when doing chores that involve water or cleaning products.
Healthy Nail Bed Tips:
- Moisturize your cuticles daily
- Avoid using your nails as tools
Tips for Healthy Nail Beds
One of the keys to achieving and maintaining healthy nail beds is to moisturize your cuticles regularly. This helps to prevent dryness and cracking, keeping your nails strong and resilient. Avoid using your nails as tools, as this can lead to breakage and damage. Be mindful of, your nails are jewels, not tools!
Creating the Base
Applying the Base Coat
Now, before plunging into the French ombre nail art, it is crucial to start with a clean slate. Begin by applying a thin layer of base coat to each nail. The base coat will not only protect your nails from staining but also provide a smooth surface for the nail polish to adhere to, ensuring a longer-lasting manicure.
Choosing the Right Colors
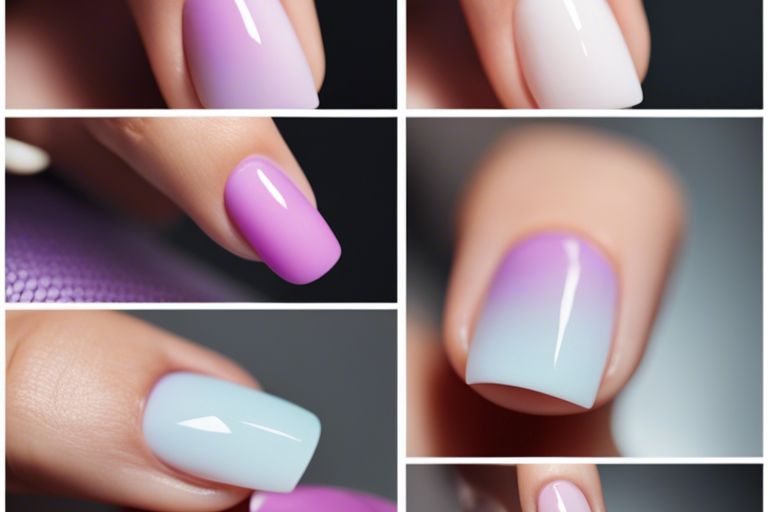
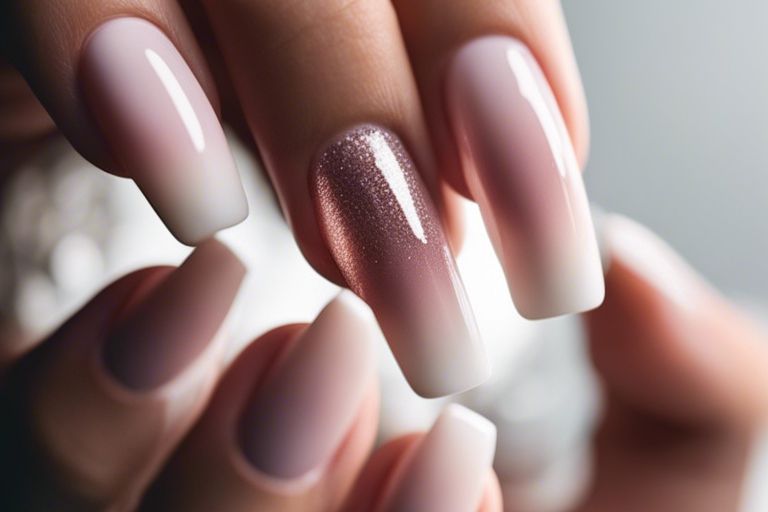
For the perfect French ombre nails, selecting the right colors is necessary. Opt for two nail polish shades that blend well together to create a seamless ombre effect. A classic choice is a light nude or pink shade for the base color and a white polish for the ombre tips.
Right from soft pastels to bold neons, the color options are endless when it comes to French ombre nails. Keep in mind to choose colors that complement each other and create a beautiful gradient effect. Experiment with different shades to find the perfect combination that suits your style and personality.
The Art of French Ombre
Blending Techniques for the Perfect Gradient
If you want to achieve flawless French ombre nails, mastering the blending techniques is crucial. Start by applying a light base color and then use a sponge or brush to blend a darker shade towards the tips of your nails. Practice gentle strokes and build up the gradient slowly for a seamless transition.
Factors Affecting the Ombre Effect
Not all ombre nails are created equal, as several factors can influence the final result. The length of your nails, the color combination chosen, and the type of tools used for blending can all impact the overall ombre effect. It’s imperative to consider these factors to achieve professional-looking French ombre nails.
- Your nail length can affect how much space you have to blend the colors seamlessly.
- The color combination chosen plays a significant role in how well the gradient blends.
- The tools used for blending, such as sponges or brushes, can determine the final ombre effect.
For more advanced ombre nail looks, consider experimenting with different color combinations and blending techniques to find what works best for you. After all, practice makes perfect when it comes to mastering the art of French ombre nails.
Finishing Touches
Sealing the Design with Top Coat
Even though your French ombre nails look flawless at this point, the final step is crucial to ensure they last. Apply a generous layer of top coat to seal and protect the design. This will help prevent chipping and keep your nails looking fresh for days to come.
How-to Ensure Long-lasting Results
There’s a simple yet effective trick to make your DIY French ombre nails last longer. For instance, avoid exposing your nails to harsh chemicals such as cleaning agents or acetone-based removers. Wearing gloves while doing household chores can significantly prolong the lifespan of your manicure.
Maintenance and Aftercare
Daily Tips for Nail Care
Now that you have achieved stunning French ombre nails, it is important to maintain their beauty. Care for your nails by applying a nourishing cuticle oil daily to keep them hydrated and healthy. Make sure to wear gloves when doing chores that involve water or cleaning chemicals to prevent your nails from weakening or chipping. Recognizing the importance of moisturizing your hands and cuticles will also help in maintaining the longevity of your French ombre nails.
Fixing Chips and Smudges
Even with proper care, chips and smudges may happen to your French ombre nails. In such instances, it is crucial to address them promptly to preserve the overall look of your manicure. A quick fix for minor chips or smudges is to carefully file the affected area with a fine-grit nail file and apply a small amount of nail polish to fill in the gap. Avoid layering too much polish, as it can lead to a bulky and uneven result.
To wrap up
With this in mind, mastering the art of DIY French ombre nails is achievable with the right tools, products, and step-by-step instructions. By carefully following these instructions, you can create stunning French ombre nails in the comfort of your own home. Remember to practice patience and precision for the best results. Enjoy giving yourself a beautiful and professional-looking manicure with this technique!
FAQ
Q: What is French Ombre Nails?
A: French ombre nails are a sophisticated and subtle nail design that blends two complementary colors together, typically a nude shade and white, creating a beautiful gradient effect.
Q: What supplies do I need for DIY French Ombre Nails?
A: To create DIY French ombre nails, you will need nail polish in two complementary colors (usually nude and white), a makeup sponge, nail polish remover, a small bowl of water, and a topcoat.
Q: How do I prepare my nails for French Ombre application?
A: Start by shaping and cleaning your nails. Push back your cuticles and remove any existing nail polish. For a longer-lasting manicure, consider buffing your nails to create a smooth surface.
Q: What is the technique for creating French Ombre Nails?
A: To create French ombre nails, apply the nude base color and let it dry completely. Then, paint the two colors onto a makeup sponge in a gradient pattern, and lightly dab the sponge onto your nails. Repeat this process until you achieve the desired ombre effect.
Q: How do I clean up any mistakes during the French Ombre process?
A: Dip a small brush or a cotton swab in nail polish remover to clean up any mistakes around your cuticles or on your skin. Take your time and work carefully to achieve clean and precise ombre nails.
Q: Can I add extra embellishments to my French Ombre Nails?
A: Absolutely! You can add rhinestones, glitter, or nail art stickers to enhance your French ombre nails. Just make sure to secure them with a layer of topcoat to ensure they stay in place.
Q: How do I maintain my French Ombre Nails?
A: To prolong the life of your French ombre nails, apply a topcoat every few days to prevent chipping. Moisturize your cuticles regularly and avoid exposing your nails to harsh chemicals or excessive water to maintain the ombre effect.