Most people enjoy the luxury of getting a pedicure at a salon, but it’s not always convenient or budget-friendly. That’s where DIY pedicures come in handy. With the right tools, techniques, and a little bit of patience, you can achieve salon-worthy results from the comfort of your own home. This ultimate guide will walk you through the steps to pamper your feet, leaving them soft, smooth, and polished without ever stepping foot outside. Say goodbye to expensive salon visits and hello to beautiful, well-groomed feet at home!
1. Essentials for DIY pedicure: soak, exfoliate, moisturize, polish.
2. Use natural ingredients like Epsom salt, necessary oils, lemon.
3. Technique: trim nails straight, buff calluses, apply polish smoothly.
4. Opt for non-toxic nail polish brands for healthier results.
5. Invest in quality tools like file, cuticle pusher, toe separators.
6. Finish with foot scrub, lotion for soft, clean feet.
Preparing Your Pedicure Space
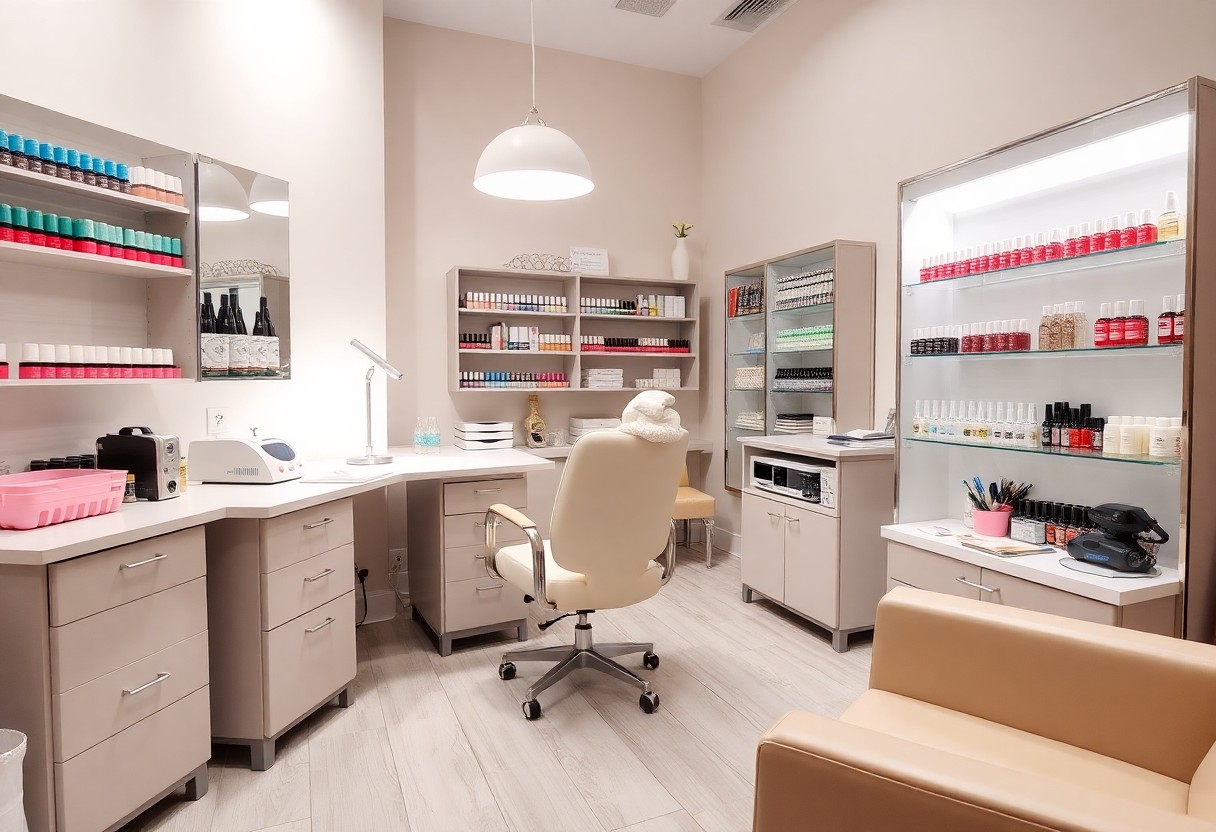
Choosing the Right Location
An necessary aspect of DIY pedicures at home is selecting the perfect location for your pampering session. Find a well-lit area with ample space to comfortably sit and access your supplies. Ideally, choose a spot that is easy to clean and has good ventilation to ensure a pleasant experience.
Setting the Mood for Relaxation
The ambiance of your pedicure space plays a key role in enhancing your overall experience. Create a soothing atmosphere by dimming the lights, playing calming music, and lighting scented candles or using necessary oils. These simple touches can help you unwind and fully enjoy your at-home pedicure.
The right setting can help you relax and make the most of your DIY pedicure, enabling you to focus on self-care and rejuvenation. Consider adding some fresh flowers or using aromatherapy diffusers to elevate the mood and create a spa-like feel in your chosen space.
Understanding the Importance of a Relaxing Environment
The Pedicure Process
Soaking Your Feet
Now, before you start the DIY pedicure process, the first step is to soak your feet. This helps to soften the skin and relax your feet, making it easier to remove dead skin and calluses later on. Fill a basin with warm water and add a few drops of your favorite necessary oil or Epsom salt for an extra relaxing touch.
Exfoliating and Cleaning
Any effective pedicure involves exfoliating and cleaning the feet to remove dead skin cells and dirt. Use a gentle foot scrub or a pumice stone to exfoliate rough areas like the heels and balls of your feet. Pay extra attention to the cuticles around your toenails and clean under your nails with a nail brush to ensure a thorough cleanse.
To make your own DIY foot scrub, mix sugar or salt with olive oil or honey to create a natural exfoliant that will leave your feet feeling smooth and soft. Remember to rinse your feet thoroughly after exfoliating to remove any residue and pat them dry with a towel.

Nail Care and Polish
Trimming and Shaping Your Nails
Not trimming and shaping your nails properly can lead to ingrown nails and other issues. One of the key tips for a DIY pedicure is to trim your nails straight across and then round the edges slightly to prevent ingrown nails. Use a nail file to shape them to your desired length and style, but avoid filing back and forth, as this can weaken the nails.
Applying Nail Polish Like a Pro
The key to applying nail polish like a pro is in the technique. The first step is to ensure your nails are clean and dry before starting. The key to a long-lasting manicure is to apply thin, even coats of polish starting from the base of the nail to the tip. Remember to cap the free edge of the nail to seal in the color and prevent chipping. Finally, apply a top coat to add shine and prolong the wear of your polish.
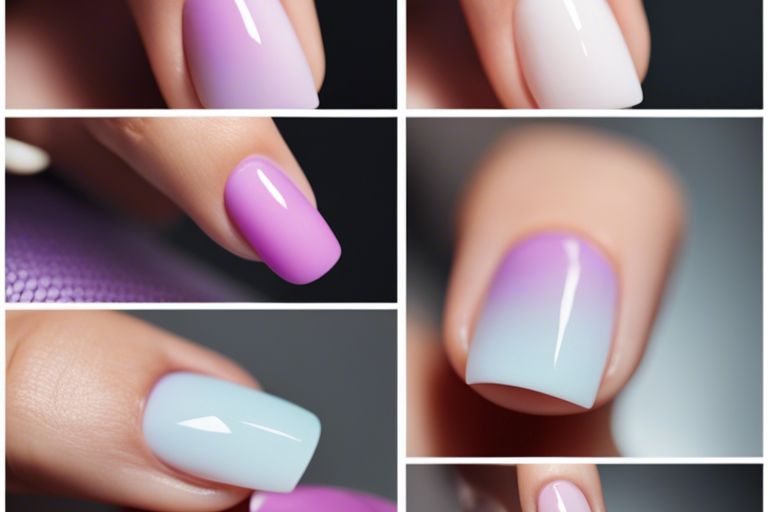
Plus, choosing the right nail polish color can make a world of difference. When opting for a shade, consider your skin tone and the occasion. Cool tones like blues and purples work well for fair skin, while warmer hues like reds and oranges complement deeper skin tones. Experiment with different finishes like metallics or shimmers to add a fun twist to your DIY pedicure.
Aftercare and Maintenance
Moisturizing and Protecting Your Feet
All pedicures require proper maintenance to keep your feet looking and feeling their best. After your DIY pedicure, make sure to moisturize your feet daily with a rich foot cream to keep them soft and prevent dryness. Additionally, don’t forget to protect your feet from the elements by wearing socks and comfortable shoes.
Tips for Extending the Life of Your Pedicure
Proper care post-pedicure can help extend the life of your beautifully painted toes. Avoid hot baths and long showers that can cause polish to chip more quickly. Opt for open-toed shoes to avoid any smudges and consider applying a clear top coat every few days to prolong the life of your pedicure.
- Avoid using harsh chemicals like bleach or cleaning products without gloves to prevent damage to your pedicure.
- Gently exfoliate your feet using a foot scrub to maintain smooth, callus-free skin.
- Allow ample time for your nails to dry completely before putting on socks or closed-toe shoes to avoid smudges.
Feet are subjected to daily wear and tear, so it’s important to take extra care to maintain the results of your DIY pedicure. By following these tips, you can enjoy beautiful and healthy-looking feet for longer periods.
To Conclude
After spending time and effort on your DIY pedicure, it’s important to follow proper aftercare and maintenance tips to ensure long-lasting results. By moisturizing, protecting, and taking preventive measures, you can extend the life of your pedicure and keep your feet looking fabulous. Be mindful of, a little extra care goes a long way in maintaining the beauty of your feet.
Summing up
Ultimately, mastering the art of DIY pedicures at home is not only achievable but also rewarding. By following the steps outlined in this guide, you can enjoy salon-quality results without leaving the comfort of your home. Remember to gather all necessary tools, prepare your feet properly, and follow each step diligently to achieve the best results. With practice and dedication, you can maintain healthy, beautiful feet all year round. So why wait? Treat yourself to a luxurious DIY pedicure today!